


Imagine you are from the Finance department, whose daily contributions are significant to the company’s financial health. Yet, a large chunk of your valuable time is swallowed up by a highly repetitive, manual process: invoice processing.
Every day, you find yourself playing a relentless “matching game” in the office, one your boss will never scold you for, even though it consumes so much time: “Word Search” (extract the information from the invoice) and “Candy Crush Saga” (matching the extracted data with their corresponding purchase orders and the goods receipt).
Game Start!
Your inbox is a constant stream of emails, each with a different vendor invoice attached as a PDF. Throughout the day, hundreds of invoices arrive, from a variety of vendors, some large and structured, others from small suppliers with custom templates.
For each invoice, you must open the attachment and begin the manual data extraction process. You’re not just looking for the total amount; you are searching for:
- The invoice number (always in a different location on every invoice).
- The invoice data and due date (normally near the invoice number).
- The vendor's name and contact details (some include this information, while others just list it in the header).
- The subtotal, tax, and total (some even have a discount).
- The individual line items, which are the item descriptions, quantity, and unit price. (Obviously in a table).
And this is where the real challenge begins.
.png?width=698&height=325&name=image%20(23).png)
.png?width=698&height=393&name=image%20(24).png)
After extracting the invoice data, you must perform a “3-way match” to ensure the company is paying for exactly what it ordered. This involves, but may not be limited to:
- Matching the invoice: You take the extracted invoice number and total.
- Matching with the Purchase Order (PO): You must access your internal systems, such as SAP or Oracle, or use a simple spreadsheet and press “Ctrl + F” to search for the corresponding PO number. You then compare the invoice line items against the original PO to ensure all the quantities and prices match.
- Matching with the Goods Receipt (if applicable): You must also verify that the goods were received and signed off (Most companies have their procurement or admin team to do this when they receive the goods).
Why does this matching game “hurt”?
Beyond just tired eyes from staring at invoices all day, the manual matching game causes bigger problems for how well things run and for your well-being:
Time consumption
Every invoice takes several minutes to go through. When you have dozens or even hundreds of them each day, this is not just a small task; eventually, it becomes your whole job. This leaves you little time for other important tasks.
High chance of mistakes
Typing or copying numbers from a PDF into a computer system is easy to mess up. A simple mistake like mixing up numbers or letters in an invoice or getting the total wrong can cause payment to be late, upset your suppliers, or lead to financial problems that are hard to fix later.
Scalability issues
As your company gets bigger, so does the number of invoices. Just hiring more people to deal with the extra work is not a good long-term solution. The old way of doing things can’t keep up, and everyone gets swamped, especially during busy times. This pressure can also contribute to a high employee turnover rate.
Stress from deadlines
Invoice due dates do not wait for anyone. If you get stuck playing the matching game, it can mean late fees, losing trust with suppliers, or even messing up important deliveries. The constant pressure to get everything done right and on time can be very stressful.
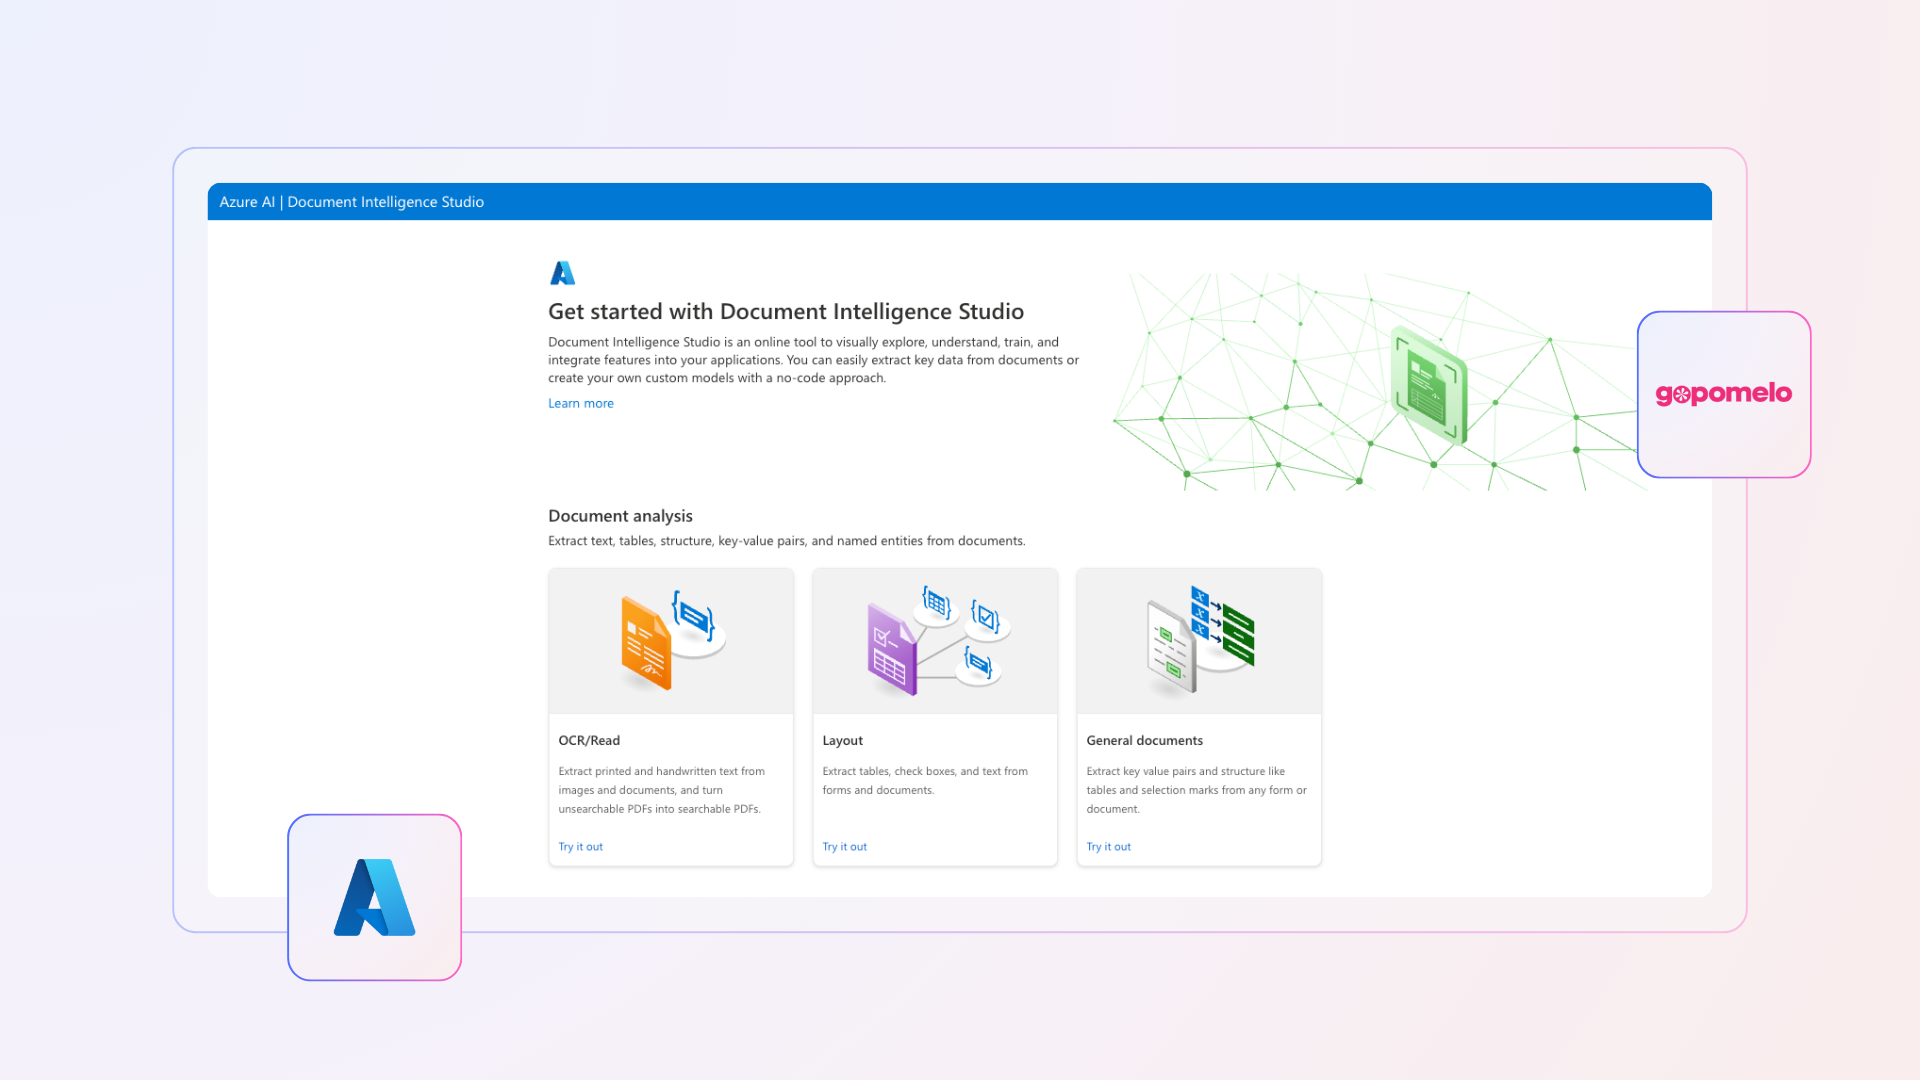
Power Up Your “Finance Avatar” with Azure Document Intelligence
.png?width=698&height=332&name=image%20(25).png)
Now, let’s talk about the true “power-up” in your “matching game”: Azure Document Intelligence.
Azure Document Intelligence is a cloud-based service that uses cutting-edge machine learning to perfectly extract structured data from almost any document, whether it’s neatly organized or a bit chaotic. It is not just a basic Optical Character Recognition (OCR), where it just “sees” words; it is smart enough to understand the full context and layout of a document.
Each model is pre-trained to tackle common document types (mostly the United States format, but there is also a Custom Extraction Model, which allows you to label and train your templates).
Let’s have a look at some prebuilt models that might be helpful to power up your Invoice Matching Game:
Invoice
Extracts vendor and customer details, invoice number, billing/shipping addresses, dates, line items (description, quantity, unit price), subtotals, taxes, and total amount. This model is useful for automating accounts payable workflows.
Receipt
Extract merchant name, transaction date/time, itemized purchases, taxes, and total amount. This model is ideal for expense tracking and consumer analytics.
Besides the above mentioned prebuilt models, there are still some other prebuilt models such as identity documents, US health insurance cards, US personal tax, US mortgage, US pay stubs, US bank statements, US checks, credit cards, US marriage certificates, contracts, and business cards.
Custom Extraction Model
Don’t find any helpful prebuilt model for your special templates document? No worries!
There is also a Custom Extraction Model in Azure Document Intelligence, a powerful tool that allows you to train your document processing model tailored to specific document types and layouts that are not covered by the prebuilt models.
This model requires you to build using your own labeled documents to extract specific fields and data points. It is very easy to build this custom extraction model.
So, how does this AI magic work? It’s surprisingly straightforward. You simply upload a document to the service, and its AI springs into action, scanning the document layout. Then you’ll need to create the fields of the label (it could be a text field, selection mark, signature, or table).
.png?width=698&height=367&name=image%20(26).png)
.png?width=698&height=400&name=image%20(27).png)
If you’ve a pre-trained custom extraction model ready, you can choose to auto-label the document with the pre-trained model. Or else, you may start to label the fields you want to extract using the Document Intelligence Studio.
.png?width=698&height=505&name=image%20(28).png)
.png?width=698&height=549&name=image%20(29).png)
Finally, it returns this extracted data to you in a perfectly structured JSON format, ready for your next move in the automation game.
.png?width=698&height=457&name=image%20(30).png)
.png?width=698&height=340&name=image%20(31).png)
- Tailored to your documents: Extract exactly the data you need from custom formats.
- Supports complex layouts: Works with both structured and unstructured documents.
- Improves accuracy: Learns from your labeled examples to deliver high precision.
- Scalable: Can process large volumes of documents once trained.
- Integrates easily: Outputs structured JSON for use in applications, databases, or workflows.
So, what’s next?
The Automation Engine: Microsoft Power Automate
It is a low-code/no-code platform for creating automated workflows. We can explain it as the orchestrator, connecting different services on Azure and Microsoft Dynamics 365.
.png?width=698&height=362&name=image%20(32).png)
- Triggers: The ability to start a flow automatically. For example, when a file is created. In this use case, when a file is uploaded to a SharePoint site.
- Connectors: The bridge that allows Power Automate to interact with other services like Outlook, SharePoint, Dataverse, and, of course, Azure Document Intelligence. In this blog post, we use the connector to call the Azure Document Intelligence custom extraction model via an API call so that it can extract the information from the document uploaded to the SharePoint site.
- Actions: The steps within the flow. For example, calling an API, parsing the JSON, creating a new record, and sending an Outlook email.
Putting it all together
Scenario
A company receives invoices as PDF attachments in an Outlook email inbox. The goal is to extract key data and save it to a SharePoint list for review.
Step 1: Set up a Power Automate flow
.png?width=373&height=169&name=image%20(33).png)
Set up a Power Automate flow with the “When a new email arrives” trigger. You may filter emails with a specific subject line from a specific sender to keep the flow focused.
Step 2: Get the attachment
.png?width=373&height=458&name=image%20(34).png)
Add the “Get attachments” action from the Outlook connector. Then save the attachment to a SharePoint Site or OneDrive folder.
Step 3: Analyze the Document with Azure Document Intelligence
.png?width=373&height=536&name=image%20(35).png)
This is the key step. Use the HTTP action to call the Azure Document Intelligence REST API. Explain the necessary components: the API endpoint URL (including the model ID like invoice-matching-ocr), the API key, and the request body containing the attachment’s content. There might be a need for a “delay” action or a loop to check whether the status is successful or not.
Step 4: Parse the Results
.png?width=373&height=158&name=image%20(39).png)
Once the analysis is complete, the API returns a JSON file. Use the “Parse JSON” action in Power Automate to extract the specific data points you need. For example, invoice_id, vendor_name, total_amount, invoice_date, and etc.
Step 5: Store the Data
.png?width=373&height=369&name=image%20(40).png)
Use an action to store the extracted data. For example, you can use the following actions, any of which also work well to store your data.
- “Create item” in a SharePoint list.
- “Add a row” to an Excel Online table.
- “Create a record” in Dataverse.
Then, map the extracted JSON values to the columns in your destination file. For example, the vendor_name JSON field goes into the vendor_name column in the SharePoint list.
Step 6: Notify the PIC to verify the data extracted
.png?width=373&height=368&name=image%20(36).png)
Finally, to keep the human in the loop to ensure the data extracted is correct, the automation workflow can be ended with “Start and wait for an approval”. With this, an approval request will be sent to the Invoice Matching Finance Officer to check if the information extracted from the invoice is correctly recorded. If yes, then they can press “Approve” and proceed to the payment step. Or else, they can always “Reject” and check on their own.
Traffic Ticket Custom Extraction Model
Besides creating a custom extraction model to extract different templates of invoices and purchasing orders, as per the benefits number 1 mentioned above, we can also tailor it to your documents, for example, a Traffic Ticket.
Here, we have a scenario where a car rental company would like to extract information from the traffic ticket issued by the Royal Thai Police and then match it with their records in an Excel file. With this automation flow, they will be able to know which tenant should take responsibility for paying the traffic ticket.
So, the automation workflow is like this:
- The car rental company employee will receive the traffic ticket issued by the Thai Royal Police via email. Once they receive the traffic ticket, the automation workflow will be started.
- First is to download the original traffic ticket to the SharePoint folder automatically. Then the AI-model API will be called to start the OCR process.
- After extracting the information from the traffic ticket, it will be stored in one Excel file.
- Then, the automation workflow will continue the matching process to check which tenant should pay for the traffic ticket.
- After getting the contact information of the respective tenants, an approval request will be sent to the employee for final checking and approval.
- Once approved, an email will be sent to the tenant and remind them to make a payment.
Website Application Option
If you do not want to have these fully automated workflows, or maybe you would like to start your OCR workflow from uploading an invoice, no problem, we can also create a Website Application, connected to the Custom Extraction Model on Azure Document Intelligence, to do so.
.png?width=698&height=127&name=image%20(38).png)
Benefits Recap
A recap of the benefits of this seamless data extraction automation workflow:
- Massive time savings: Automate repetitive, low-value tasks.
- Improved accuracy: Reduce manual data entry errors.
- Increased efficiency: Accelerate business processes from days to minutes.
- Scalability: The solution scales with your business requirements.
- Low-code/No-code: Emphasize that this can be built by “citizen developers” or business analysts without deep programming knowledge.
Quest Complete: Elevating Your Organization
As our journey through the automated workflow comes to an end, it’s clear that combining Azure Document Intelligence and Power Automate is not just about streamlining tasks. It’s about fundamentally changing the game. No longer are organizations stuck in reactive, manual grind levels, constantly battling paperwork and data entry errors.
With this powerful tech stack, you can transform your operations into a proactive, automated powerhouse, giving your teams the ultimate cheat code to reclaim valuable time and focus on strategic missions.
This is not just efficiency; it’s about unlocking the true value of your data, turning unstructured documents into actionable insights that fuel smarter decisions. So, are you ready to level up your business?
It’s time to stop playing defense against manual bottlenecks and start a new game where automation leads to victory royale. Deploy this solution today and experience the next generation of business efficiency!

 Twitter
 Youtube
%20(48).png)
%20(38).png)